
 Egypt
Egypt  UAE
UAE  USA
USA How to Clean a Blender Without Damaging the Blade or Gasket
A practical step-by-step guide to cleaning a blender: washing the jar and blade, removing stuck-on residue and smells, dishwasher-safe parts, and cleaning mistakes to avoid.
We may earn a commission from purchases through our links, at no extra cost to you. Full disclosure.
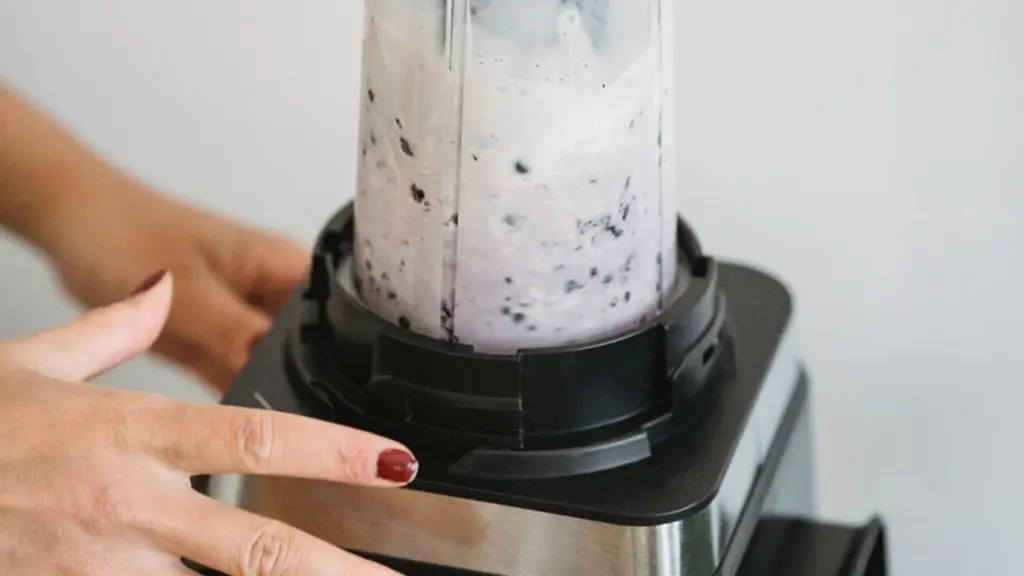
The fastest way to clean a blender is to fill the jar with warm water and a drop of regular dish soap, then run the blender for a few seconds on low speed, letting the spinning blade clean itself and the jar almost on its own. The step most people skip is the rubber gasket and the blade base underneath, which is the real spot where food residue collects and causes smells later. Cleaning this area properly and regularly keeps the blender performing well and extends its life.
The quick answer
Fill the jar with warm water and a drop of soap, run the blender for a few seconds, then rinse and dry it upside down. That covers quick daily cleaning. But the rubber gasket and the blade base under the jar need a separate hand wipe after every use, since that’s the spot most prone to trapped food residue and smell. Most jars are dishwasher-safe per the manufacturer, but hand washing is gentler on the gasket long term.
Key takeaways
- A blender is a spinning blade under a jar fixed onto a motor base, which means the tightest cleaning corner sits around the blade base, not inside the jar itself (blender definition from Britannica).
- Running the blender with soap and water for a few seconds cleans the jar automatically, but it usually doesn’t reach the rubber gasket under the blade base.
- The rubber gasket is the part most likely to trap food residue and moisture, so cleaning it regularly is what prevents a bad smell long term.
- Regular dish soap is enough for most daily cleaning, since abrasive cleaners or steel wool scratch the jar and blade unnecessarily (detergent background from Britannica).
- Which parts are dishwasher-safe depends on the model’s own manual, so not all blenders are the same on this point.
Quick daily cleaning after every use
Daily cleaning is simple and takes under two minutes:
- Empty out any leftovers right after use, before they dry and stick to the wall.
- Fill it about halfway with warm water and a drop of dish soap.
- Put the lid on and run the blender on low for ten seconds, letting the spinning blade clean the inside of the jar on its own.
- Rinse with clean water until all the soap suds are gone.
- Detach the jar from the base and dry it upside down on a dish rack so moisture doesn’t collect in the base.
The gasket and blade base: the step most people skip
A quick soap-and-water wash cleans the jar wall well, but it usually doesn’t reach the rubber gasket fitted between the jar and the blade base. This gasket traps moisture and fine food residue over time, and it’s the most common cause of a bad blender smell later on. Detach the jar from the blade base if your model’s design allows it, and wipe the gasket and the underside of the blade edges with a small sponge or a slim brush that reaches the tight corner around the blade shaft, a spot fingers or a regular sponge don’t easily get to. A slim dedicated blender cleaning tool makes this exact step easier and saves time compared to trying to reach it with a bulky sponge.
Can a blender jar go in the dishwasher?
The answer depends on the model, but the general rule is:
| Part | Dishwasher | Hand wash |
|---|---|---|
| Glass or sturdy plastic jar | Usually safe per the manufacturer’s manual | A good option if you want to keep it clear-looking longer |
| Blade unit underneath | Check the manual, some models rule it out | Usually safer to keep the gasket seal intact |
| Rubber gasket | Hand-washed in most manuals | The recommended option to extend its life |
| Base (motor) | Never in the dishwasher or submerged in water | Wipe the outside with a damp, well-wrung cloth only |
Check your specific model’s manual before relying on the dishwasher permanently, since some manufacturers rule out the blade unit even when the jar itself is dishwasher-safe.
Getting rid of stubborn smells
If an unwanted smell persists despite regular washing, the cause is usually fine residue built up around the gasket that hasn’t been fully removed. Fill the jar with warm water and a few drops of diluted white vinegar or half a lemon, run the blender on it for a few seconds, then let the mix sit for a minute before rinsing well. Keep vinegar away from bleach and other chlorine cleaners, since the mixture gives off toxic chlorine gas, and rinse the jar well before you try another product. Repeat this weekly if the blender is used daily, since it prevents residue buildup from the start rather than treating the smell after it appears.
A blender whose design makes cleaning easier
If you’re shopping for a new blender, design makes a real difference in how easily you can reach these tight corners at cleaning time. A practical example from our shortlist: the Nutribullet 600W Personal Blender, with its compact format and few detachable parts, lets cleaning reach every corner quickly without complicated disassembly. We didn’t pick it just for being easy to clean, we picked it because the balance of grinding power and easy daily maintenance makes sense for most kitchens, which is also why it tops our guide to the best blender in Saudi Arabia. The card below shows the price we last checked, with its date and a link to check today’s price on Amazon.sa.
When to stop and call a technician
- A burning smell or sparks from the motor base.
- Liquid has reached the motor base or leaks onto it from under the jar.
- The power cord has cuts, loose points, or burn marks.
If one of these happens, stop using the blender, unplug it, and call a qualified technician. Once the checks above are done, if the motor stays silent, the blade will not turn, it keeps grinding or cutting out after it has cooled, the blade edge is damaged, or the gasket stays cracked or smelly, replace the gasket or blade assembly with the matching part, or ask a certified technician or the manufacturer’s service agent to check the motor.
Bottom line
Cleaning a blender isn’t complicated: warm water, soap, and a quick run cover the jar daily, but the rubber gasket and blade base need regular hand attention to prevent residue and smell buildup. Check your model’s manual for which parts are dishwasher-safe, and if the blender suddenly stops working despite good cleaning, what to check when a blender stops working covers the common causes. If a smell persists despite following these steps, read why does a blender smell for more detail. And if you’re still shopping for a blender in the first place, browse our guide to the best blender in Saudi Arabia or the full blenders section.
Sources
- Britannica, “Blender”, definition of the blender and the design of its spinning blade and base: https://www.britannica.com/dictionary/blender
- Britannica, “Detergent”, background on detergents and how they remove grease and food residue: https://www.britannica.com/technology/detergent
About this guide
- Editing
- Mizaan Home editorial team
- Last updated
Research based on published specifications, without hands-on testing. How we choose
Prices are checked per product; the oldest check on this page:
This analysis is based on published information from Britannica (Blender), Britannica (Detergent).
Frequently asked questions
How do I clean a blender after every use?
The fastest way is to fill the jar with warm water and a drop of dish soap, then run the blender for a few seconds on low speed, so the spinning blade cleans itself and the jar almost on its own. Rinse with clean water afterward and dry the jar upside down. Wipe the gasket and blade base with a damp cloth after every use so residue doesn't build up.
Can a blender jar go in the dishwasher?
Most glass or sturdy plastic jars are labeled dishwasher-safe in the manufacturer's manual, while the blade unit underneath and the rubber gasket are usually hand-washed to avoid weakening the seal over time. Check your specific model's manual before relying on the dishwasher permanently.
How do I get rid of a bad blender smell?
The main cause is food residue trapped around the blade or the rubber gasket. Wash this area thoroughly after every use, and if the smell persists, blend warm water with a few drops of white vinegar or half a lemon for a few seconds, then rinse well.
Why does the jar still have leftover food after a quick wash?
A quick water rinse alone often doesn't reach the tight corners around the blade underneath the jar, where fruit or vegetable residue collects. A slim dedicated cleaning tool that reaches this corner solves the problem more easily than a regular sponge.