
 Egypt
Egypt  UAE
UAE  USA
USA How to Clean a Robot Vacuum: Brushes, Sensors, and Filter
We may earn a commission from purchases through our links, at no extra cost to you. How we choose · Disclosure.
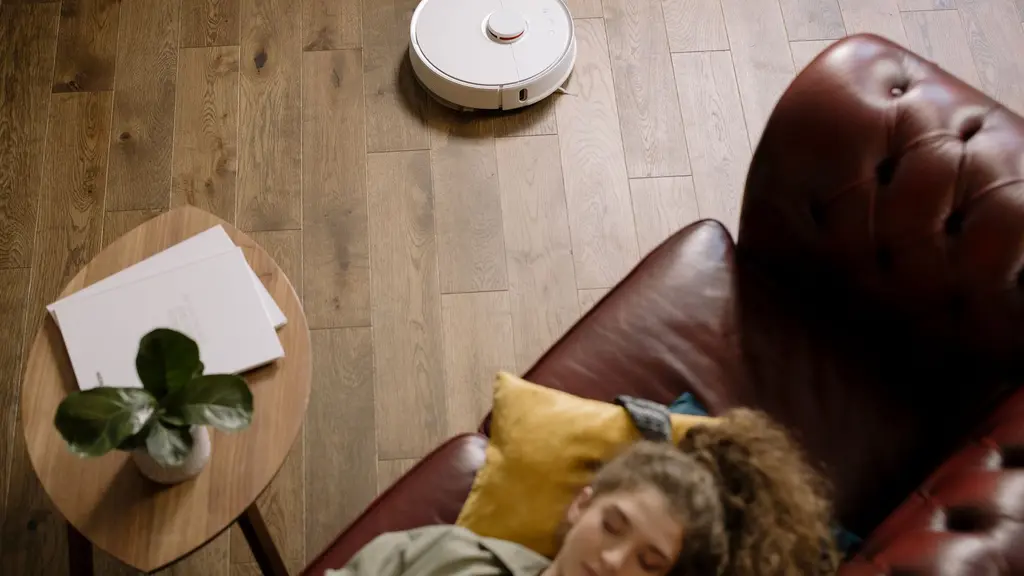
Empty the dustbin after every run or every few runs, clear tangled hair and thread from the side and main brush weekly, and wipe the sensors and camera window with a dry cloth on the same schedule. A robot vacuum that skips these steps starts missing spots, stopping mid-run, or throwing navigation errors, even if its daily schedule keeps running as expected on the surface. The side brush specifically is the single most common cause of a sudden stop.
The quick answer
Empty the dustbin after every run or every few runs, clear tangled hair from both the main and side brush weekly, and wipe the sensors with a dry cloth weekly too. A mop pad, if the unit has one, gets washed after every wet mopping run, and the wheels and charging dock only need a monthly check. If the robot vacuum keeps missing spots or throwing errors despite this routine, the brushes or filter have likely reached the end of their life and need replacing.
Key takeaways
- A robot vacuum relies on two brushes and sensors, sometimes a camera, to map its cleaning path and navigate, and any blockage or dust on these parts reduces navigation accuracy before any obvious fault appears (robotic vacuum cleaner definition and how it works from Britannica).
- A side brush wrapped in hair is the most common cause of a sudden stop and error code, since the unit automatically halts itself as a safety measure when any brush’s rotation is blocked.
- Dusty cliff sensors or a dirty camera cause false stops at a phantom edge or a missed real obstacle, which shows up as an inaccurate cleaning map.
- The dustbin’s filter clogs gradually just like any regular vacuum filter, and needs periodic tapping out and eventual replacement once it stops restoring suction to its usual strength (HEPA filter definition and its efficiency at trapping fine particles from US EPA).
- A dusty charging dock reduces docking reliability, so wiping the metal contact points monthly prevents unexplained charging issues.
Basic cleaning steps after every use or every few uses
- Empty the dustbin into the trash after every run or every few runs, depending on its capacity.
- Tap the bin’s filter free of excess dust over the trash.
- Check the main brush and the side brush for wrapped hair or thread.
- Wipe the sensors, edges, and camera if present with a dry, soft cloth, without spraying any liquid directly on them.
- Check the wheels for wrapped hair or thread that could restrict free spinning.
The side brush and main brush: the most common cause of a stopped unit
The small side brush that sweeps dust in from corners is the part most prone to tangled hair and fine threads, and once its rotation is fully blocked, the unit stops itself automatically and throws an error code as a safety measure to protect the motor. Power off the unit first, then use a small pair of scissors to cut any wrapped hair at the brush base before pulling it off by hand. Homes with pets or thick carpet need this check weekly, while a mostly tile home can get away with checking every two weeks.
Sensors and camera: why keeping them clean prevents navigation errors
Dust accumulated on the cliff sensors or camera lens makes the unit misread its surroundings, causing it to stop at an edge that isn’t really there or miss a real obstacle in its path. The visible result is usually an inaccurate cleaning map or the same spot getting missed repeatedly. Wipe these parts weekly with a dry, soft cloth only, and avoid spraying any cleaner or water directly on them, since they’re sensitive electronics.
The charging dock and mop pad
The metal contact points on the charging dock and on the unit itself build up a thin layer of dust over time, which reduces charging reliability and sometimes triggers error messages that have nothing to do with the battery itself. Wipe them with a dry cloth once a month. As for the mop pad, on models that vacuum and mop together, wash it in cold water after every wet mopping run and let it dry completely before reattaching it, since fitting it back damp causes an unwanted smell.
When do you need a replacement side brush and filter kit instead of continuing to hand-clean?
The routine above solves most day-to-day performance issues at no extra cost. But over long-term use, the bristles on the side and main brush wear down and lose their ability to sweep up dust efficiently even after every tangle is removed, and the filter may stop restoring suction to its usual strength despite regular tapping. At that point, a replacement side brush and filter kit matching your specific model solves it, and earns its place as a simple, practical add-on instead of continuing to clean parts that have genuinely reached the end of their useful life.
If it’s time to upgrade instead of maintain
If your current robot vacuum needs frequent repairs despite good upkeep, it’s worth reconsidering a new robot against a daily cordless stick from scratch. If you decide that daily cleaning with a cordless stick you control yourself suits you better than repeated robot maintenance, the Dyson V8 Animal is the best overall pick in our guide to the best vacuum cleaner in Saudi Arabia, with strong suction on both tile and carpet and thousands of positive reviews on Amazon.sa. If you still prefer the hands-free daily upkeep of a robot vacuum, our full guide compares robot picks too.
See the Dyson V8 Animal price on Amazon.sa ↗
When to stop and call a technician
- A stop or error code returns after hair and thread are removed from the brushes.
- False stops or missed obstacles continue after the sensors and camera are cleaned.
- Charging errors continue after the dock and unit contacts are wiped clean.
- Suction does not recover after the filter and worn brushes are replaced with compatible parts.
Stop using the appliance and have a qualified technician inspect it before using it again.
Bottom line
Robot vacuum maintenance is a simple weekly routine: a dustbin emptied regularly, both brushes free of tangled hair, and clean sensors that prevent navigation errors. If problems persist despite this routine, a replacement side brush and filter kit matching your model usually solves it. Regular, non-robot vacuums have a slightly different maintenance routine, covered in detail in how to clean a vacuum cleaner. If you’re still weighing a robot vacuum against a cordless stick from scratch, see robot vs cordless vacuum, and to pick the right type for your home, see our how to choose a vacuum guide or browse the full vacuum cleaners in Saudi Arabia section.
Sources
- Britannica, “Robotics research”, definition of the robot vacuum and its reliance on brushes and sensors for navigation: https://www.britannica.com/technology/robot-technology/Robotics-research
- US EPA, “What is a HEPA filter”, definition of the HEPA filter and its efficiency at trapping fine particles: https://www.epa.gov/indoor-air-quality-iaq/what-hepa-filter
This analysis is based on published information from Britannica (Robotics research), US EPA (What is a HEPA filter).
Frequently asked questions
How often should I clean my robot vacuum?
Empty the dustbin after every run or every few runs, and check the main and side brushes for tangled hair and thread weekly. The sensors and camera window need a weekly wipe with a dry cloth, and the mop pad, if it has one, gets washed after every wet mopping run. Wheels and the charging dock only need a monthly check.
Why does my robot vacuum suddenly stop mid-clean and show an error?
The most common cause is hair or thread wrapped around the side or main brush, preventing it from spinning fully, so the unit stops itself automatically as a safety measure. Checking both brushes weekly and clearing any tangles prevents most error codes of this kind before they happen.
Does cleaning the sensors actually make a difference to a robot vacuum's performance?
Yes, significantly. Dust built up on the sensors and cliff sensors can make the robot stop falsely at a phantom edge or miss a real obstacle, which shows up as an inaccurate cleaning map or repeated missed spots. Wiping the sensors with a dry, soft cloth weekly usually prevents this.
Can I wash the dustbin and filter of a robot vacuum with water?
The bin itself can often handle a cold water rinse if it's hard plastic, but check your model's manual first. The filter is usually not washed, only tapped free of excess dust, since water damages its fine filtering material, and if it no longer restores suction to its usual strength, it's time to replace it.