
 Egypt
Egypt  UAE
UAE  USA
USA Bottle Sterilizer Not Working: What to Check First
We may earn a commission from purchases through our links, at no extra cost to you. How we choose · Disclosure.
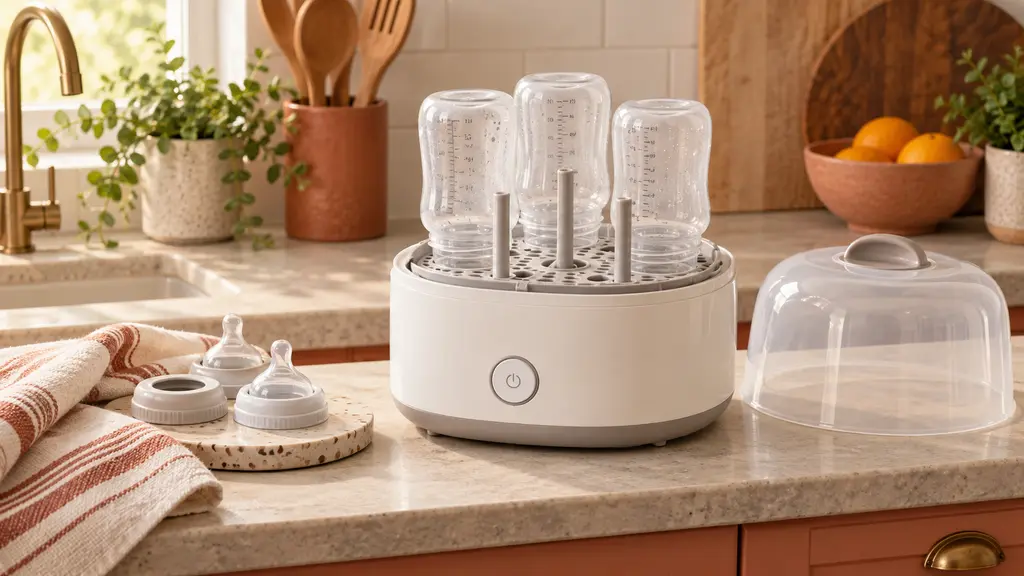
Before assuming a bottle sterilizer is completely broken, check three things first: the power connection and outlet, the water level in the tank, since most models won’t finish a cycle without enough water, and the seal around the lid, since a worn or misaligned seal lets steam escape and can keep the unit from reaching temperature or completing its cycle.
The quick answer
Before assuming your bottle sterilizer is completely broken, check three things first: the power connection and outlet, the water level in the tank (most models won’t finish a cycle without enough water), and the seal around the lid, since a worn or misaligned seal lets steam escape and prevents the unit from finishing its cycle or reaching temperature. If you’ve checked all three and it still doesn’t work, the heating element itself may be the issue, which usually calls for contacting the manufacturer’s customer support rather than attempting a DIY repair.
We’re not appliance repair technicians, so any inspection of internal parts or the heating element itself should follow the manufacturer’s manual or customer support, don’t disassemble the unit if doing so voids the warranty.
Key takeaways
- Most common bottle sterilizer faults have simple, self-checkable causes: the power connection, the water level, and the seal around the lid.
- The lid gasket is usually the first thing to wear out with repeated use, and a worn gasket prevents the steam buildup needed to finish a full sterilizing cycle (general background on gaskets from Britannica).
- Insufficient water in the tank is a common cause of an incomplete cycle, check the recommended amount in your model’s manual before every use.
- The heating element itself is rarely the first cause, most issues come from simpler, easier-to-check parts first (general background on heating elements from Britannica).
- Neglected limescale buildup can slow heating so much it looks like the unit “isn’t working”, when it’s actually just heating very slowly.
Step 1: check the power connection
It sounds obvious, but it’s the first thing to rule out: make sure the plug is fully seated in a working outlet, try a different appliance in the same outlet to confirm the outlet itself works, and check that the sterilizer’s cord isn’t damaged or internally frayed.
Step 2: check the water level
Most steam sterilizers need a precise amount of water to generate enough steam to finish the cycle. Less water than your model’s manual recommends can keep the unit from finishing the cycle or even showing a completion indicator at all. Check the markings inside the tank or the manual for the exact correct amount.
Step 3: check the seal around the lid
The rubber gasket around the lid is what traps steam inside the unit long enough to reach the temperature it needs. With repeated use and heat exposure, this seal can stiffen, wear, or lose its flexibility, and once that happens, steam escapes around the lid instead of staying trapped, so the cycle takes longer or never finishes at all even though the unit appears to be “running.” Visually check the seal for cracking or stiffness, and confirm it’s seated correctly all the way around the lid.
If the seal turns out to be the problem, replacement gaskets compatible with some bottle sterilizer models exist on the market, a relatively simple and inexpensive fix compared to replacing the whole unit, provided you confirm compatibility with your specific model first through the manufacturer’s manual or customer support.
Step 4: check for limescale buildup
Built-up limescale on the heating base slows heat transfer, and can make the unit look like it “isn’t working” when it’s really just heating very slowly. If you haven’t descaled it in a while, see bottle sterilizer limescale for how to remove it safely before assuming the unit is broken.
Table: quick check in order
| Step | What to check | What to do |
|---|---|---|
| 1 | Power connection and outlet | Try a different appliance in the same outlet, check the cord |
| 2 | Water level in the tank | Compare to the amount recommended in your model’s manual |
| 3 | Seal around the lid | Visually check for cracking or stiffness, confirm proper seating |
| 4 | Limescale on the heating base | Remove with a citric acid or diluted white vinegar solution |
| 5 | Still not working after all that | Contact the manufacturer’s customer support |
Never mix vinegar with bleach or any chlorine-based cleaner - the combination releases toxic gases. Use one cleaner at a time and rinse thoroughly between products.
When to replace instead of repair
If you’ve checked everything above and the unit still won’t heat at all, the issue is most likely the heating element or the internal electrical circuit, which usually calls for replacing the unit rather than attempting a DIY repair, especially outside the warranty period. A reliable unit from the start, with seals and parts built for daily use, cuts down on these early failures. An example from our shortlist: the GROWNSY Bottle Sterilizer and Dryer, backed by thousands of positive reviews on Amazon.sa, which is what earns it the top spot in our guide to the best bottle sterilizer in Saudi Arabia. You’ll find its current price and the Amazon.sa link in the card below.
When to stop and call a technician
- The unit stays unresponsive in a known-working outlet.
- It still will not heat after the water level, lid seal, and limescale checks.
- The lid seal is cracked or stiff and a compatible replacement cannot be confirmed.
Stop using the appliance and have a qualified technician inspect it before using it again.
Bottom line
Before assuming a bottle sterilizer is completely broken, check the power connection, the water level, the seal around the lid, and limescale on the heating base in that order, since most common faults come from these simple parts rather than the heating element itself. If you’re noticing an odd smell along with the fault, see why does a bottle sterilizer smell, and if you’re considering a replacement unit already, read best bottle sterilizer in Saudi Arabia. For the full buying criteria, see how to choose baby appliances, and to browse everything in this category, visit our baby appliances section.
Sources
- Britannica, “Rubber”, general background on rubber seals and their role in trapping steam and pressure: https://www.britannica.com/science/rubber-chemical-compound
- Britannica, “Resistive heating”, general background on electric heating elements and how they work: https://www.britannica.com/science/resistor
This analysis is based on published information from Britannica (Rubber), Britannica (Resistive heating).
Frequently asked questions
My bottle sterilizer suddenly stopped heating, where do I start checking?
Start with the basics: check the power connection and outlet, then check the water level in the tank against the amount recommended in your model's manual, then visually check the seal around the lid for cracking or stiffness. Most common faults come from these simple parts.
Why doesn't the sterilizing cycle finish even though the unit seems to be running?
The likely cause is a worn seal around the lid letting steam escape instead of staying trapped, so the cycle runs long or never finishes. Another common cause is not enough water in the tank to generate enough steam to complete the full cycle.
When should I repair a bottle sterilizer versus replace it?
If the issue is the seal or limescale buildup, those are relatively simple fixes. But if you've checked everything and the unit still won't heat at all, the heating element itself is likely the problem, which usually calls for replacement rather than a DIY repair, especially outside the warranty period.
Can limescale buildup make a bottle sterilizer look broken?
Yes, buildup on the heating base slows heat transfer significantly, so the unit can look like it isn't working when it's actually just heating very slowly. Regular descaling often resolves this before you need to consider any deeper repair.